This hopefully soon-to-be series was started quite a while ago when I was exploring new Rails features. Especially Turbo and ActionMailer. I finished the demo app and started writing articles while tidying up code. As it happens, I never finished and published the series. Almost two years passed and here you are, reading one of the first two parts that were finished before I abandoned the idea of having a blog. This hopefully changes now with more parts and different topics incoming!
In this multipart tutorial, I’ll try to show off some of the cool new parts of Rails by building a simple app to send and receive e-mails. As trivial as it sounds, we’ll be using many parts of Rails showing how easy it is to build non-trivial apps only using generators and few lines of custom code.
TLDR: You can find the code in this GitHub repository. Every part has a corresponding commit.
So lets start off with generating new Rails app!
Setup
1
rails new hotmailing --database=postgresql --skip-jbuilder --skip-test --css=tailwind
As you can see, we’ll be using PostgreSQL as our database and Tailwind as a CSS framework. The generator also automatically includes and configures hotwire-rails which we find usage of in the later parts!
1
2
bin/rails db:create
bin/rails server
Now create development and test databases and run a server to see if everything works properly before we start adding any code. By opening localhost:3000 in your browser, you should see a nice new Rails welcome page.
Let’s add some useful gems to our Gemfile
1
2
3
4
5
6
7
8
9
10
11
12
13
14
15
16
17
18
19
group :development, :test do
  gem 'pry-rails'
  gem 'capybara'
  gem 'capybara-screenshot'
  gem 'database_cleaner'
  gem 'factory_bot_rails'
  gem 'faker'
  gem 'rspec-rails'
  gem 'webdrivers', '~> 5.0', require: false
  gem 'rails-controller-testing'
end

group :development do
  # Use console on exceptions pages [https://github.com/rails/web-console]
  gem "web-console"
  gem 'annotate', '~> 3.2'
  gem 'better_errors', '~> 2.9'
  gem 'letter_opener', '~> 1.7'
end
Install and configure gems we added
1
2
bundle install
bin/rails generate rspec:install
Update rails_helper.rb to include FactoryBot syntax as we will be using a bunch of factories to build dummy data for our tests.
1
2
3
4
RSpec.configure do |config|
  config.include FactoryBot::Syntax::Methods

  ...
We’ll be using Rails generators a bunch, so let’s add some config to make our life easier. Create a new initializer in a config/initializers/generators.rb. This way we skip generating a bunch of useless files we won’t need in the scope of this tutorial.
1
2
3
4
5
6
7
8
Rails.application.config.generators do |g|
  g.assets            false
  g.helper            false
  g.request_specs     false
  g.view_specs        false
  g.controller_specs  false
  g.routing_specs     false
end
Since we plan to use Rails ActionText with its neat editor, let’s install some more.
1
bin/rails action_text:install
For ActionText to work properly with images, we need to install image processing library. As in image_processing Readme, we could use ImageMagick or Vips. The latter is new default for Rails, but I had problems while deploying on Heroku. We need to tell Rails to use imagemagick instead by updating application.rb config file.
1
2
3
4
5
6
7
8
9
...
module Hotmailing
  class Application < Rails::Application
    # Initialize configuration defaults for originally generated Rails version.
    config.load_defaults 7.0

    config.active_storage.variant_processor = :mini_magick

    ...
Phew! We should be done with the setup for now. Let’s check if everything still works by running migrations, restarting Rails server and opening locahost:3000 again.
1
2
bin/rails db:create
bin/rails server
All fine? Now let’s actually build something!
Messages management
Let’s generate our Messages.
Message model will represent an e-mail in our application. So it should have all the e-mail properties. Instead of a plaintext content, we added content:rich_text to make use of ActionText.
1
bin/rails g scaffold Message subject from to cc bcc content:rich_text
It’s generally a good idea to add database based validations. So open your newly generated migration file (db/migrate/xxxx_create_messages.rb) and update it a bit to make from and to columns required.
1
2
3
4
5
6
7
8
9
10
11
12
13
class CreateMessages < ActiveRecord::Migration[7.0]
  def change
    create_table :messages do |t|
      t.string :subject
      t.string :from, null: false
      t.string :to, null: false
      t.string :cc
      t.string :bcc

      t.timestamps
    end
  end
end
Now we should tell Rails to validate columns on client side too.
1
2
3
4
5
6
class Message < ApplicationRecord
  has_rich_text :content

  validates :from, presence: true
  validates :to, presence: true
end
Run migrations again and open localhost:3000/messages. You should see newly generated scaffold for our messages management. If the page has no CSS styles applied to it, you need to run TailwindCSS watcher as a separate server to build our CSS files.
1
bin/rails tailwindcss:watch
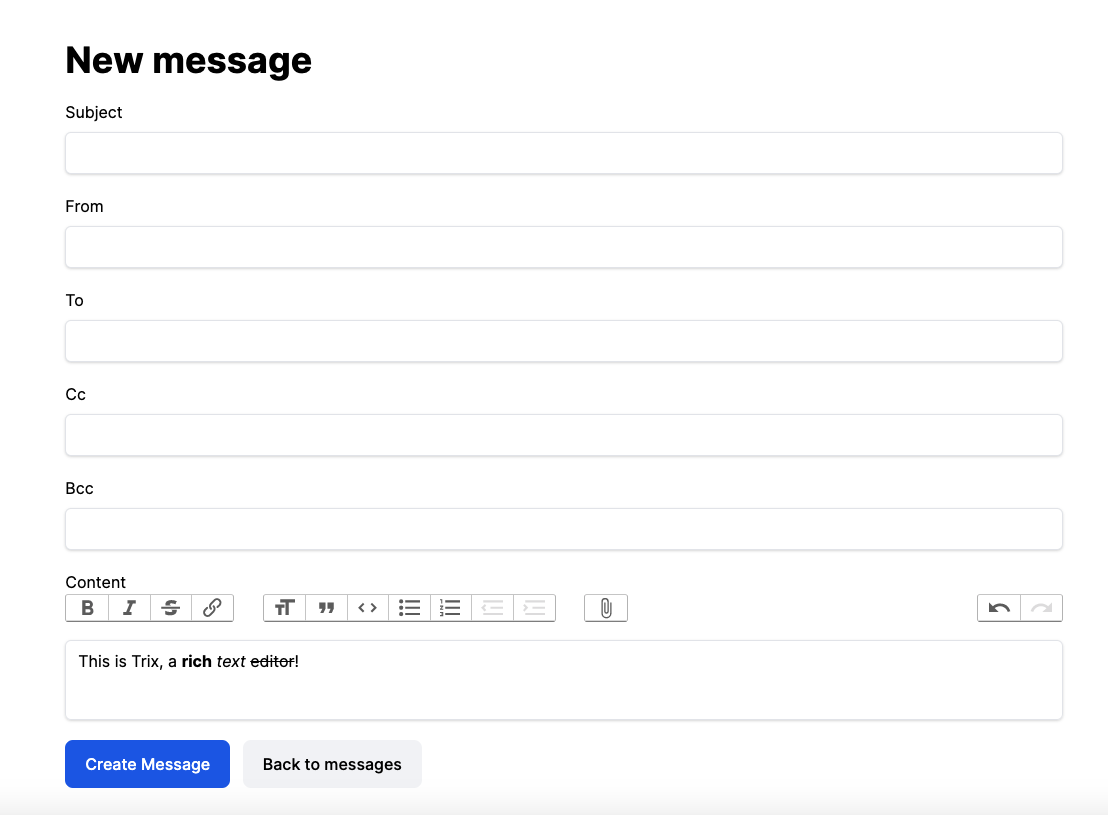
Now you can create a new Message. So let’s create one!
Don’t bother too much with attachments for now. ActionText Trix editor can attach files already, but actually sending the files is a whole different beast we tame in the next parts!
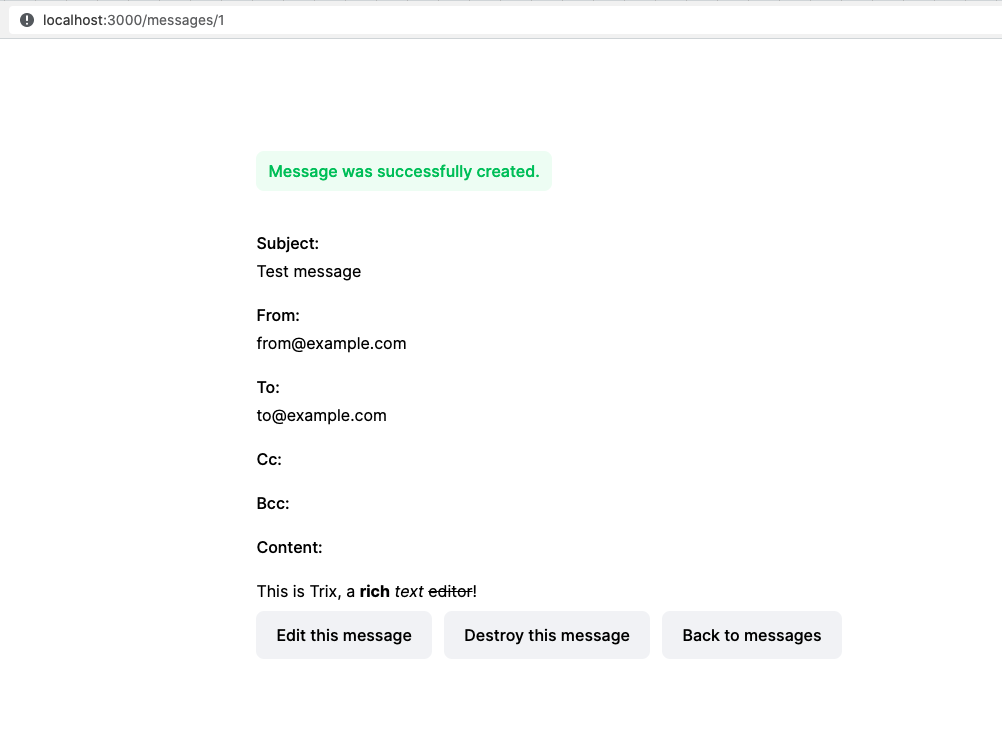
Perfect. We can create Messages. That’s a good start to actually send an e-mail.
After a long consideration and taking into account that this part is already way too long, we will continue with sending e-mails in the next part!
…sorry…
Comments powered by Disqus.